Skin Care – again….
I know, I know. I seem to change skin care routines all the time. It’s nice now that my skin isn’t so super sensitive, I can change things up for time to time and not worry.
This new routine is a mix of several previous skin care routines. So here’s what I’m currently using:
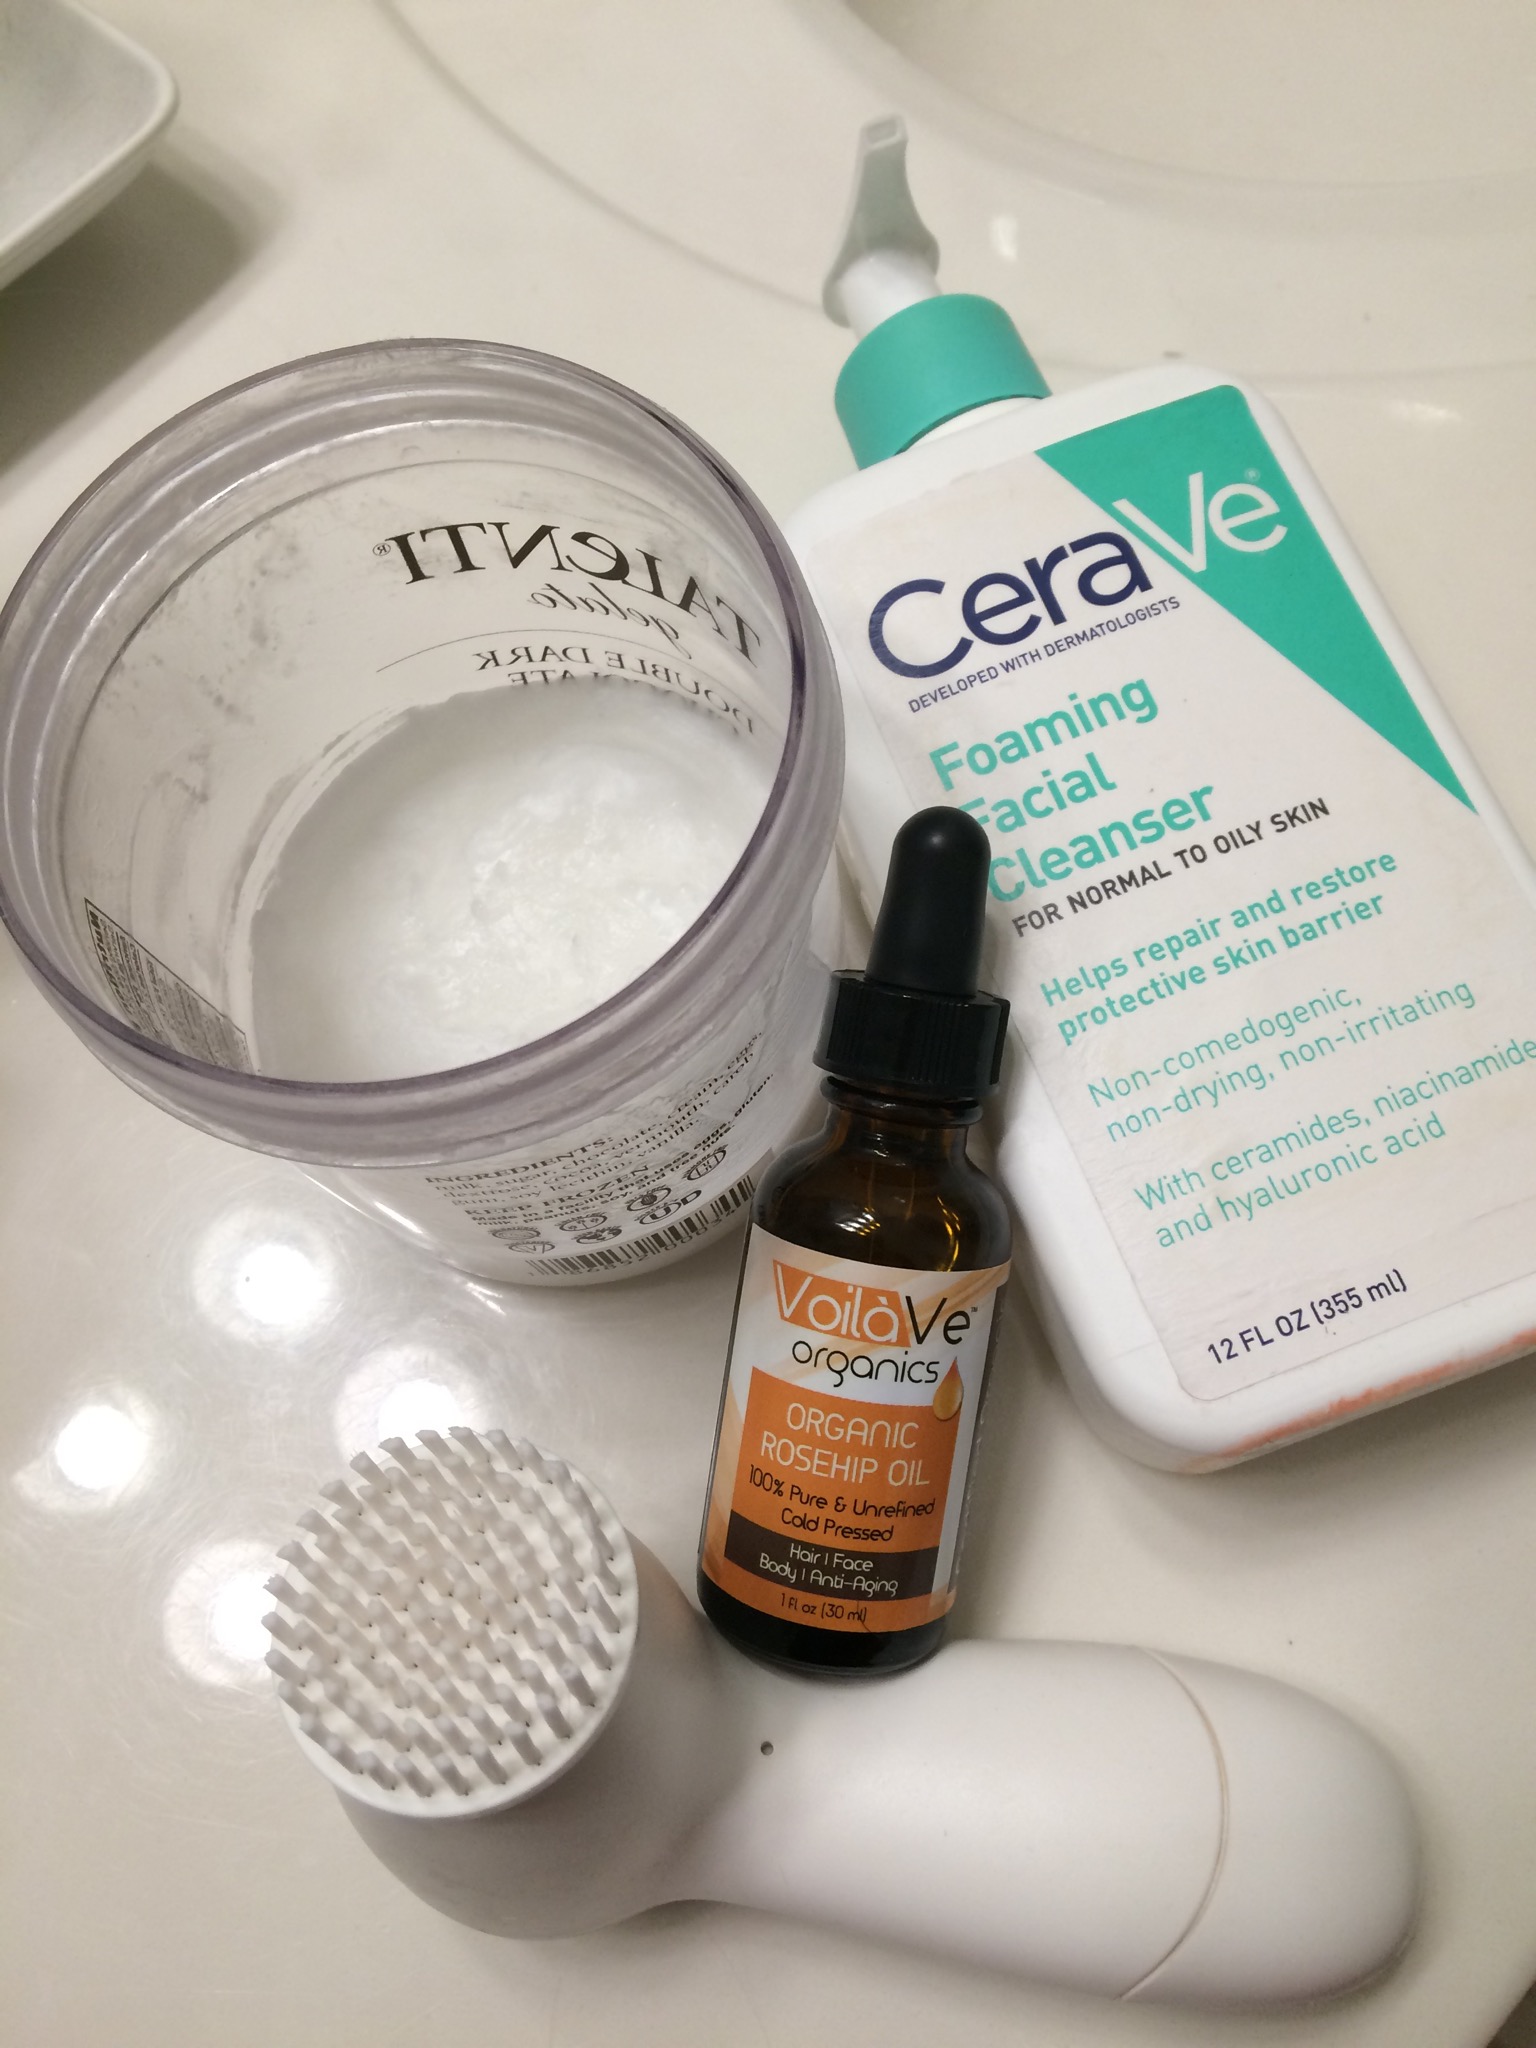
- Cold pressed, unrefined Coconut Oil (I get mine from Costco for around $15.00)
- Cerave Foaming Facial Cleanser
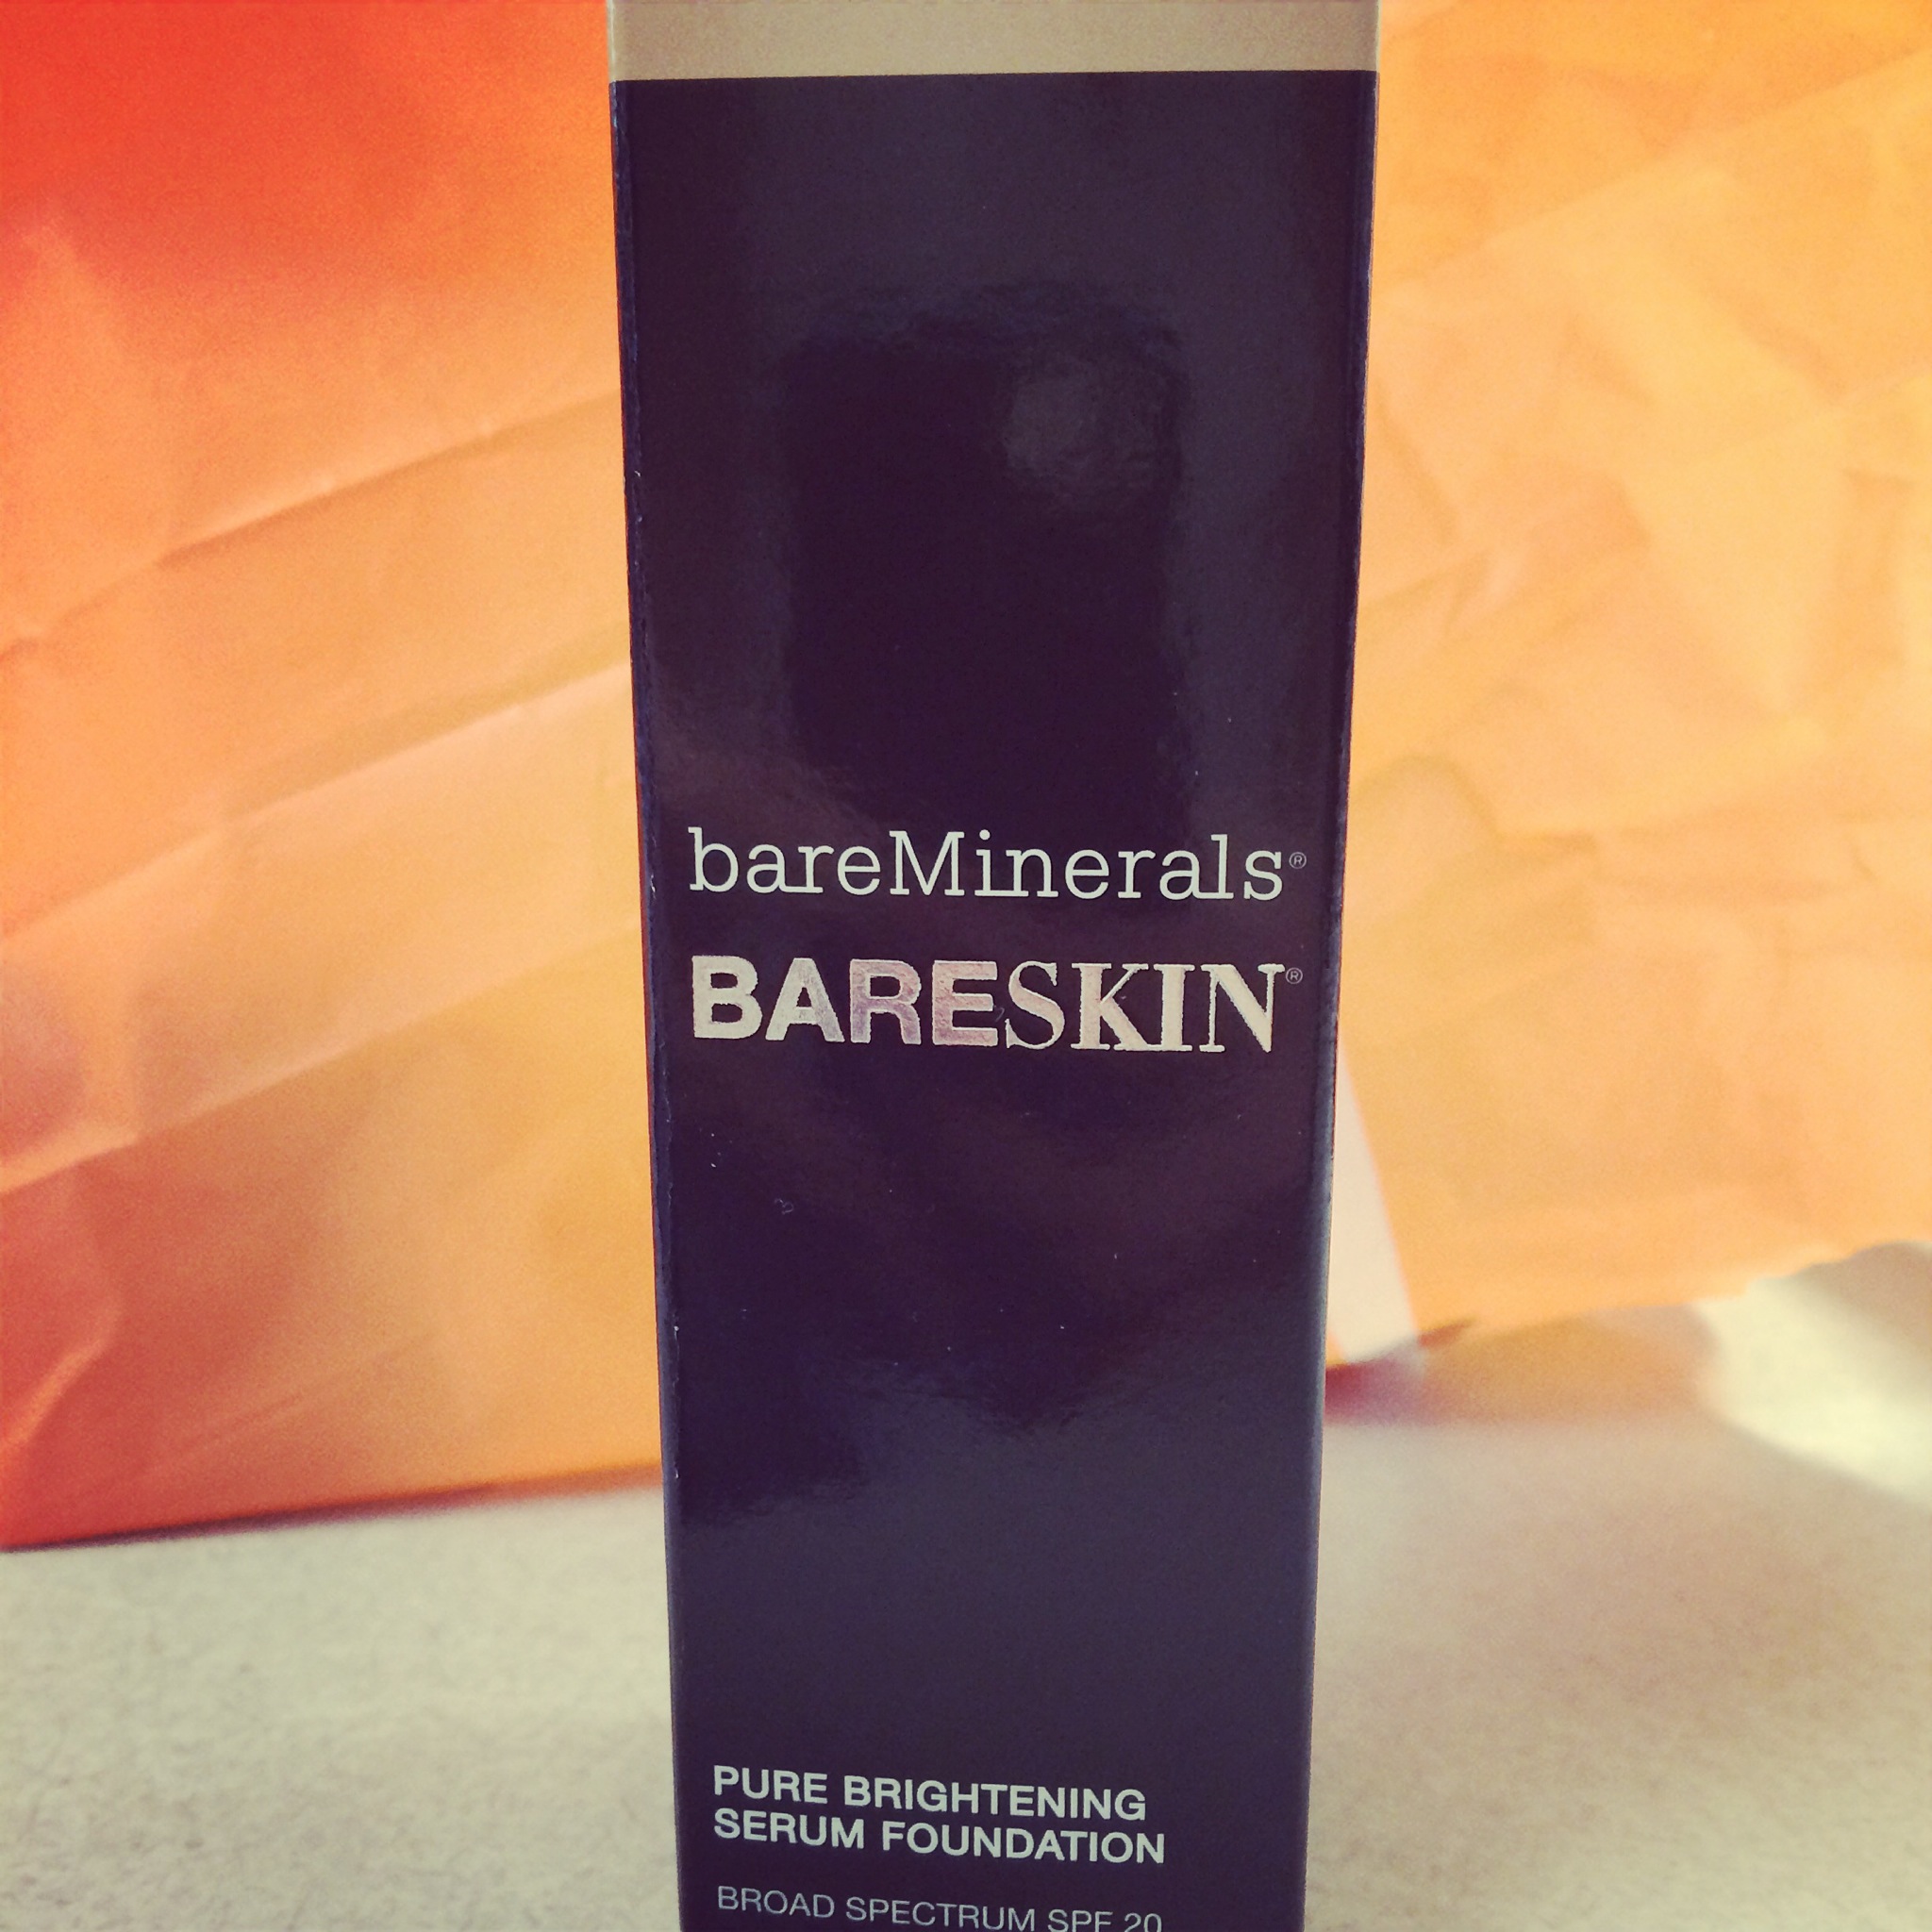
- Olay Pro-X Advanced Cleansing System
- VoilaVe Rose Hip Oil
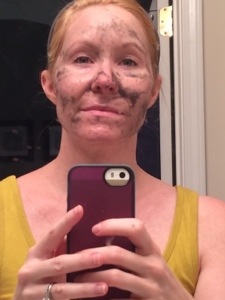
I start with Coconut Oil. I scoop out a little bit with my fingers and massage the oil into my skin. I find this is a good way to breakdown your makeup. Once I’ve massaged my skin I will use a cotton round with a little Coconut Oil to remove my eye make up. I would suggest lightly wetting the cotton round, otherwise you’ll get cotton fibers stuck in your eye lashes. Once I get the majority of my eye makeup off, I flip the cotton round over and wipe off the rest of my face. You will still have a decent amount of oil on your skin. And most times I will actually use whatever oil is left on my hands to massage my skin a bit more. I basically just use the cotton round to remove the makeup before massaging more oil in. You can do this as long as you want. Some nights I take my time and others I just do a quick once over before moving on to the next step. This is the facial massage I kind of follow, but not really. https://www.youtube.com/watch?v=8h022_ZDnv0&app=desktop
Once I done massaging the Coconut Oil into my skin, I get about a quarter to half a pump of my Cereva Cleanser. I add a little water and rub it on my skin but just enough to get the product on my skin. Then I use my Olay Pro-X to cleanse the rest of my skin. This doesn’t actually remove all the oil but I feel like it does a good job of removing any remaining dirt.
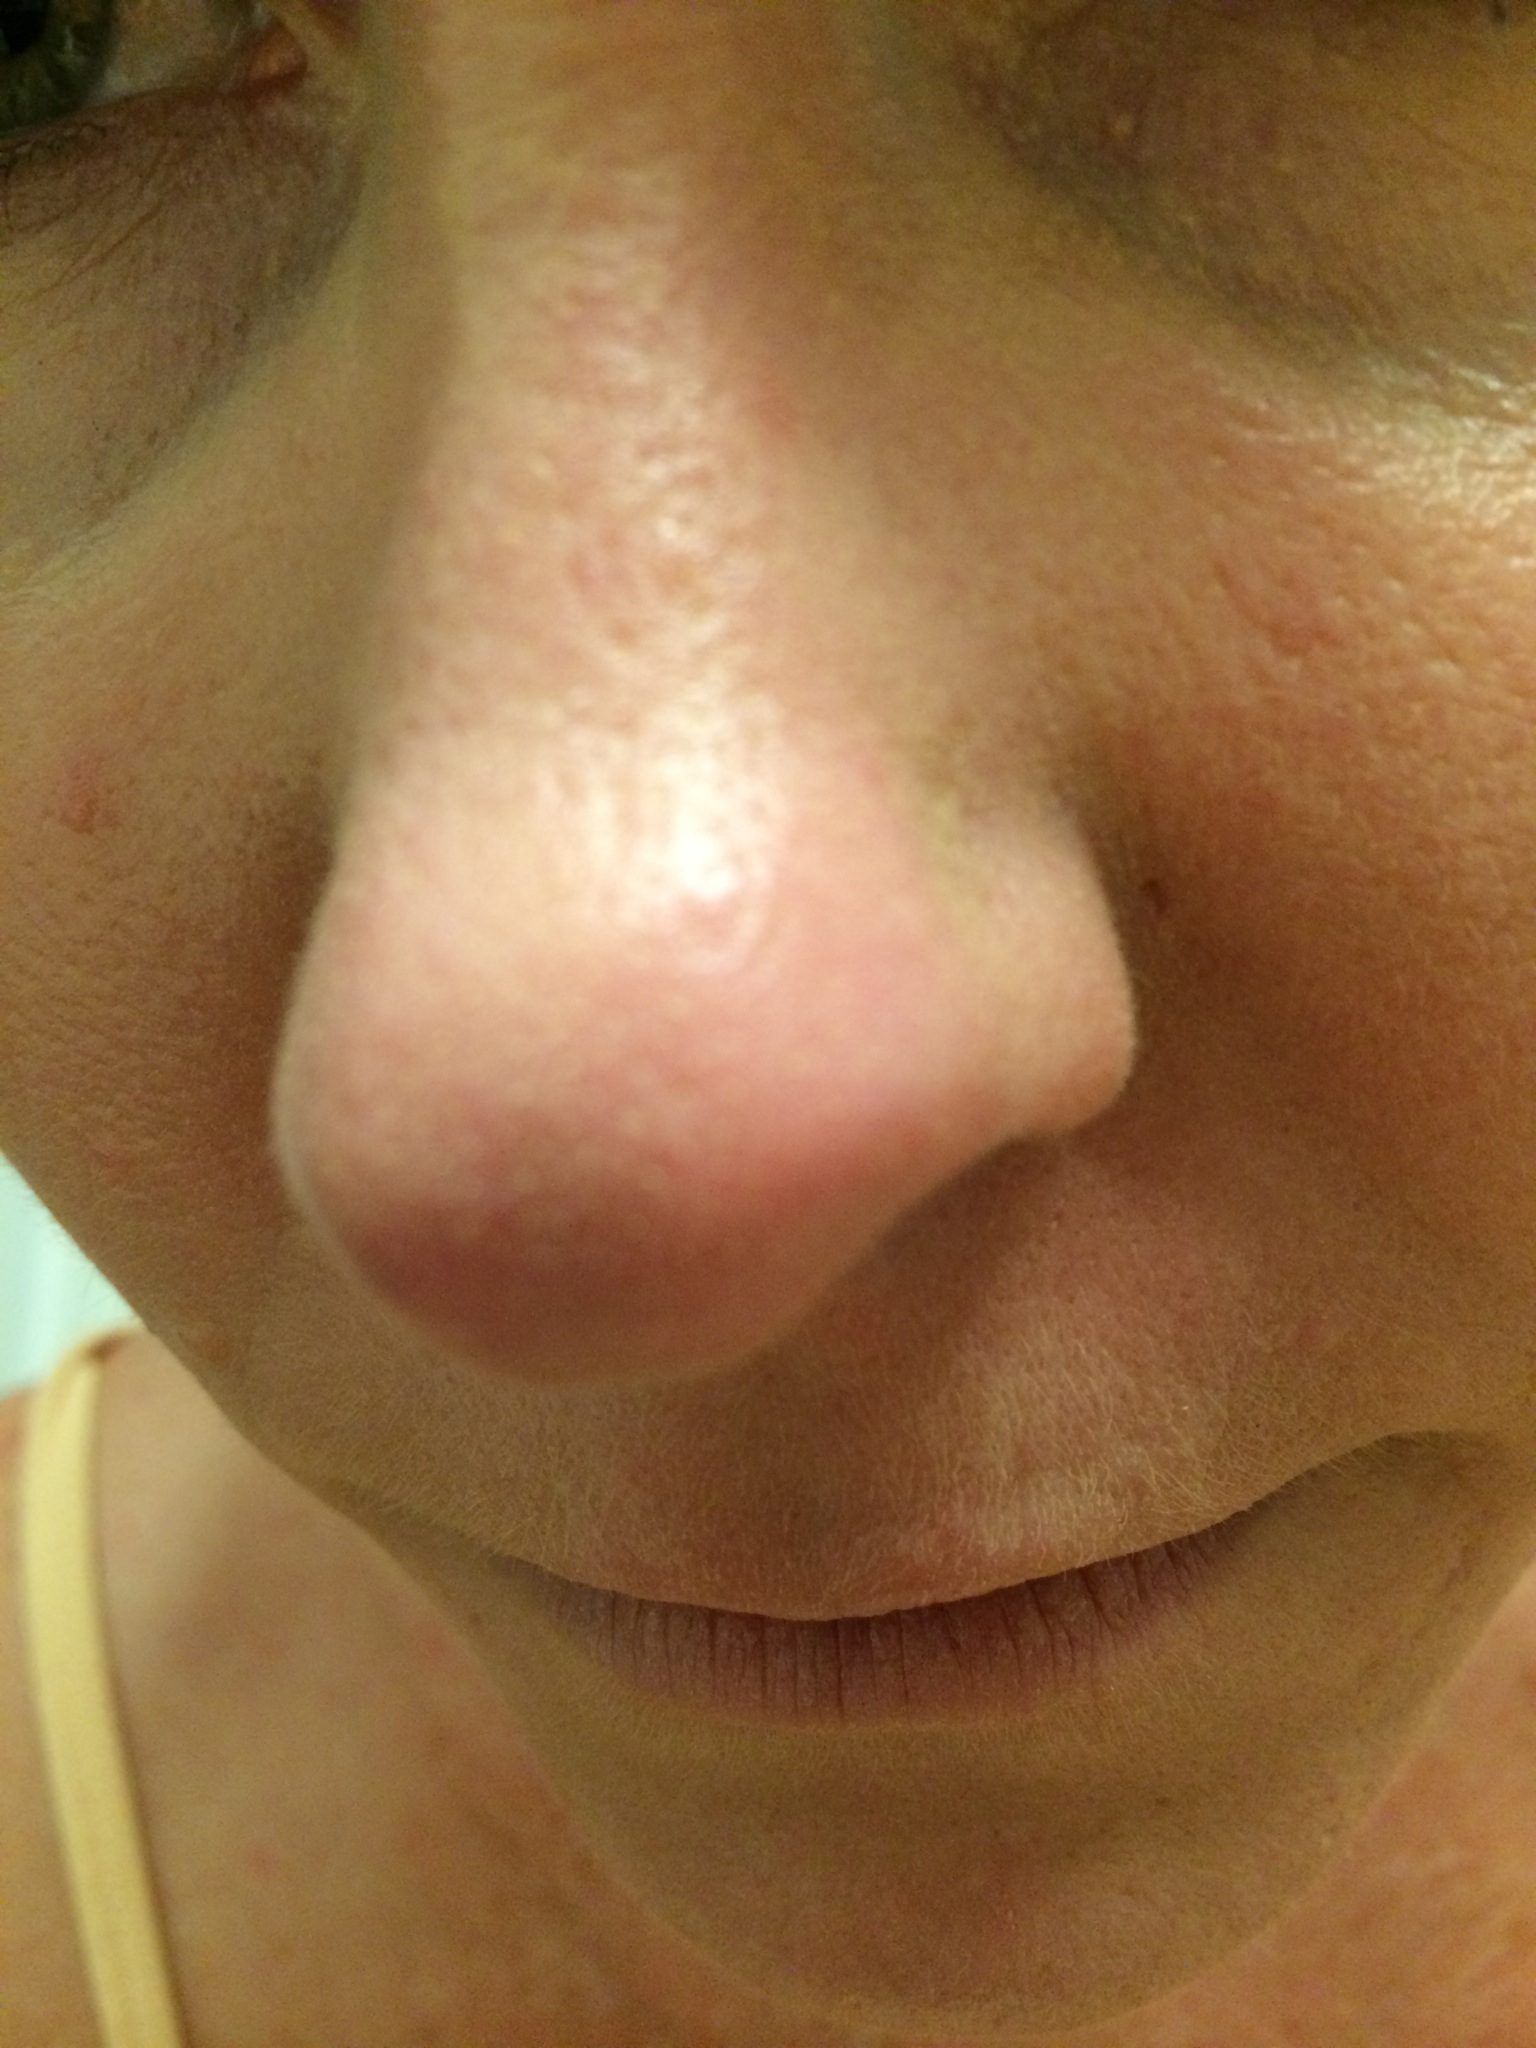
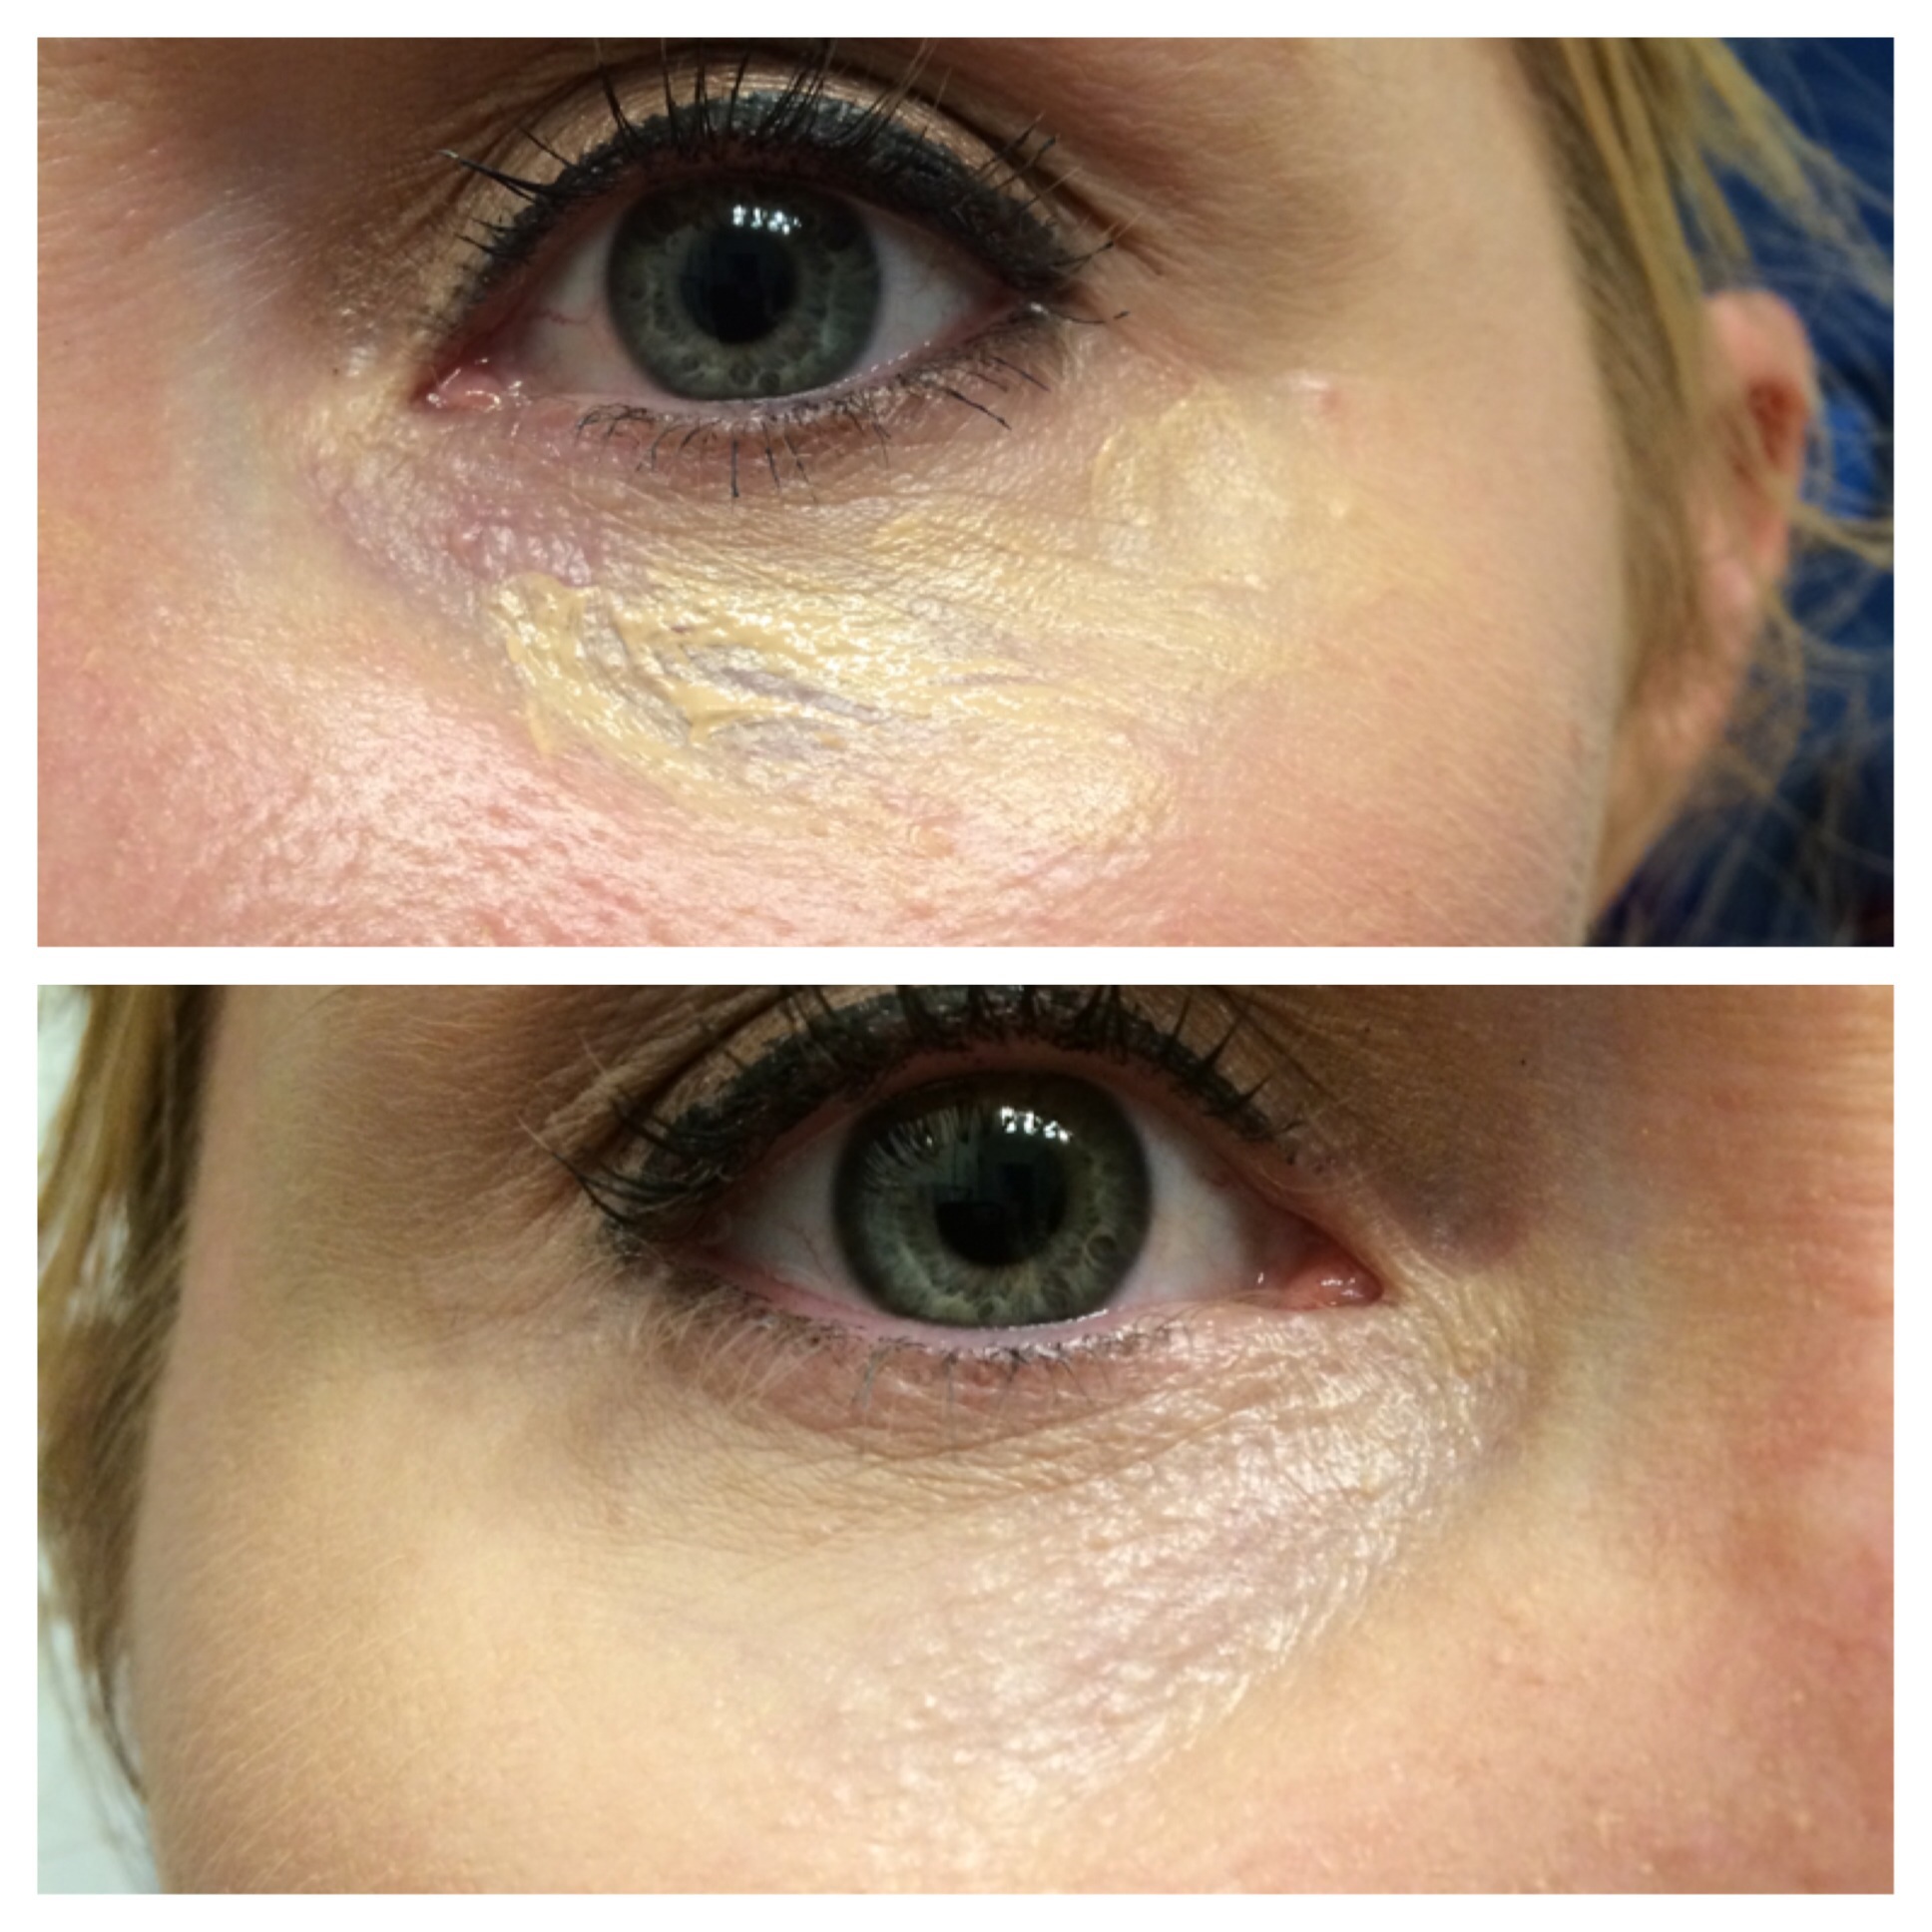
After I rinse my face off, I pat it dry and apply 3 drops of the Rosehip Oil. True Rosehip Oil does NOT smell like roses. It has a very earthy smell. Matt says my face smells like grass after I apply it. The Rosehip Oil absorbs pretty quickly into the skin (like 5-10 mins). I then apply my Mary Kay eye cream and moisturizer.
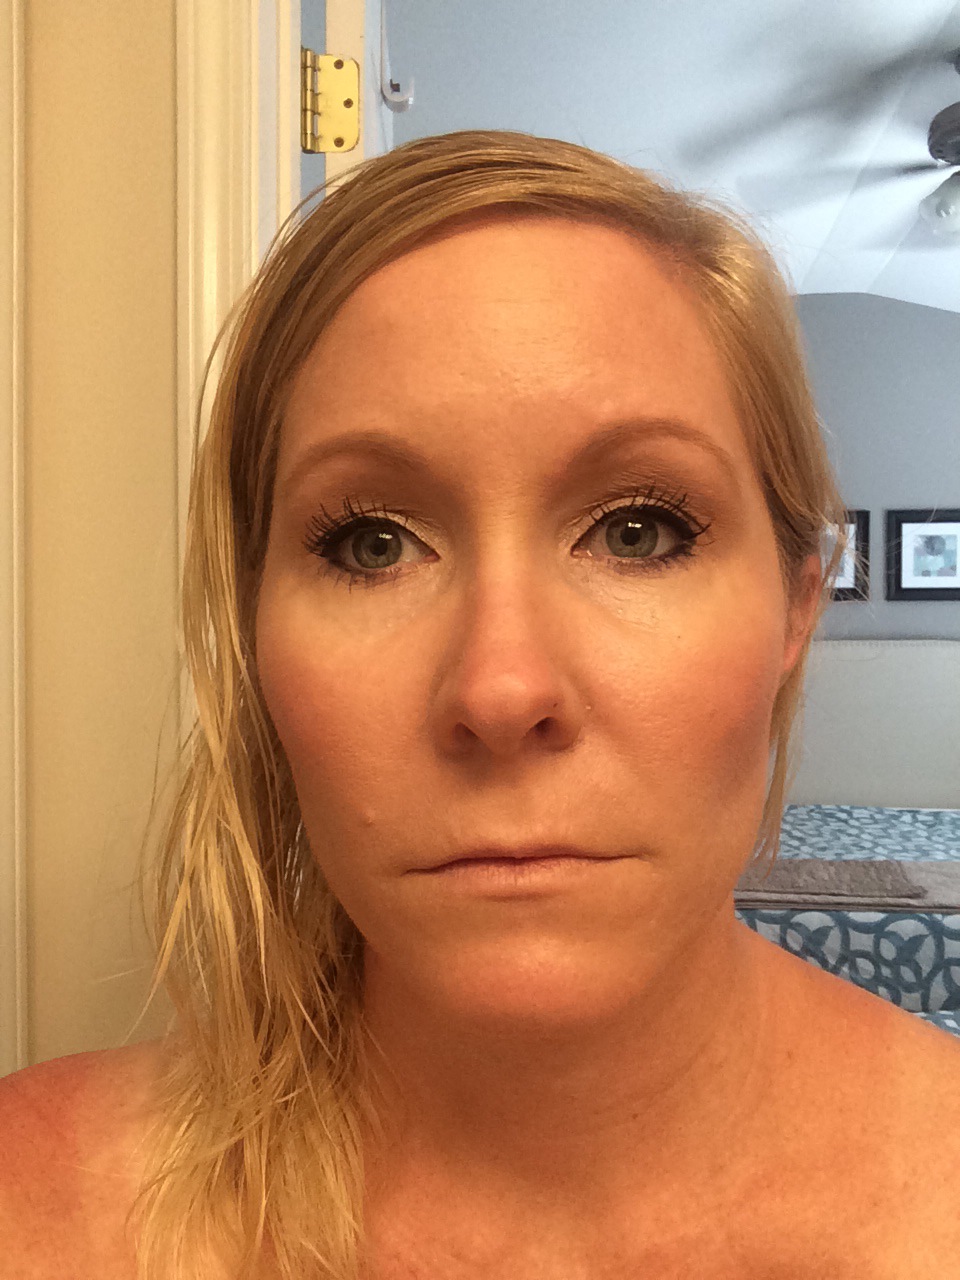
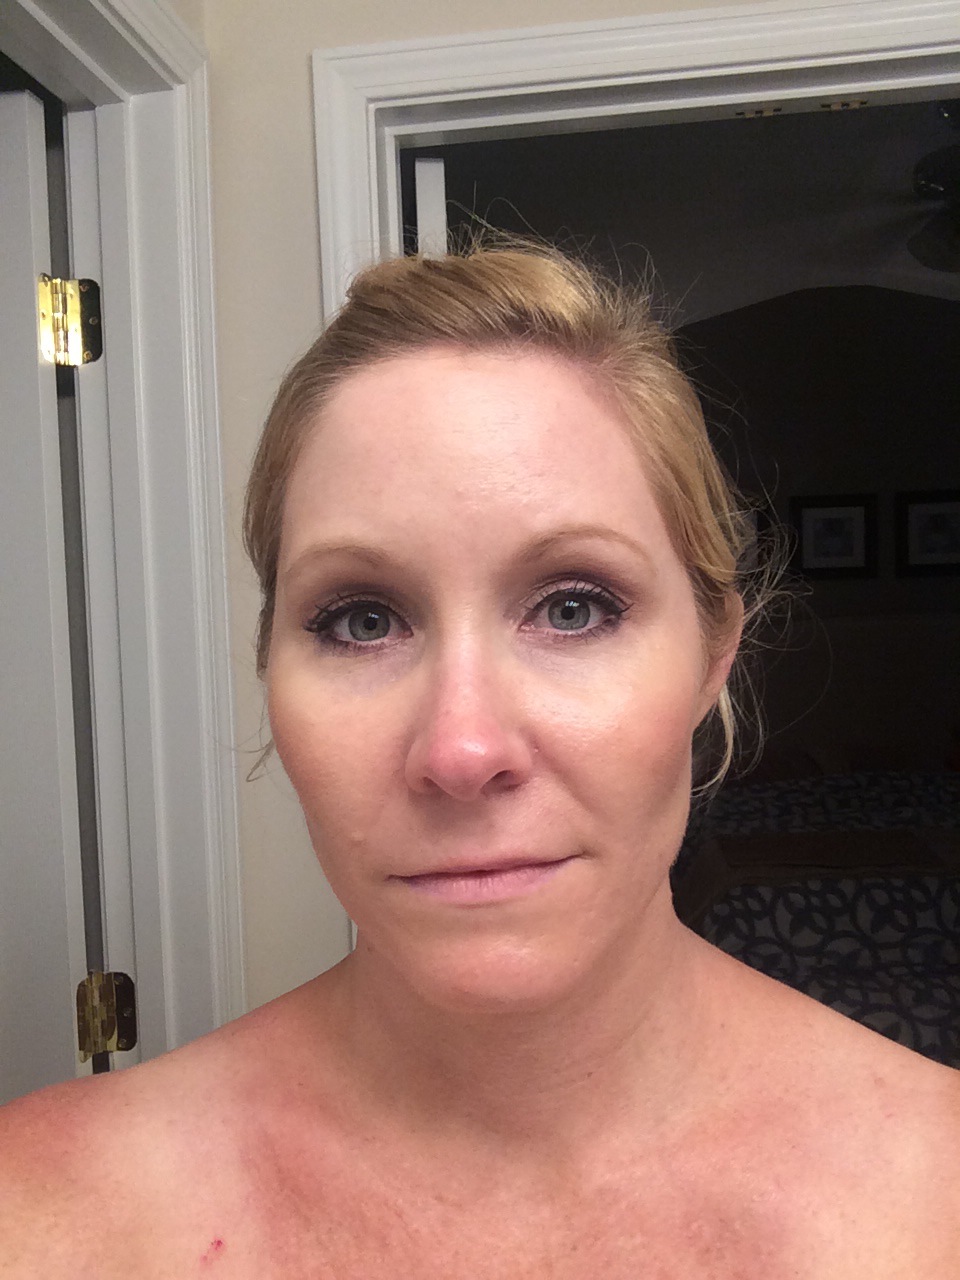
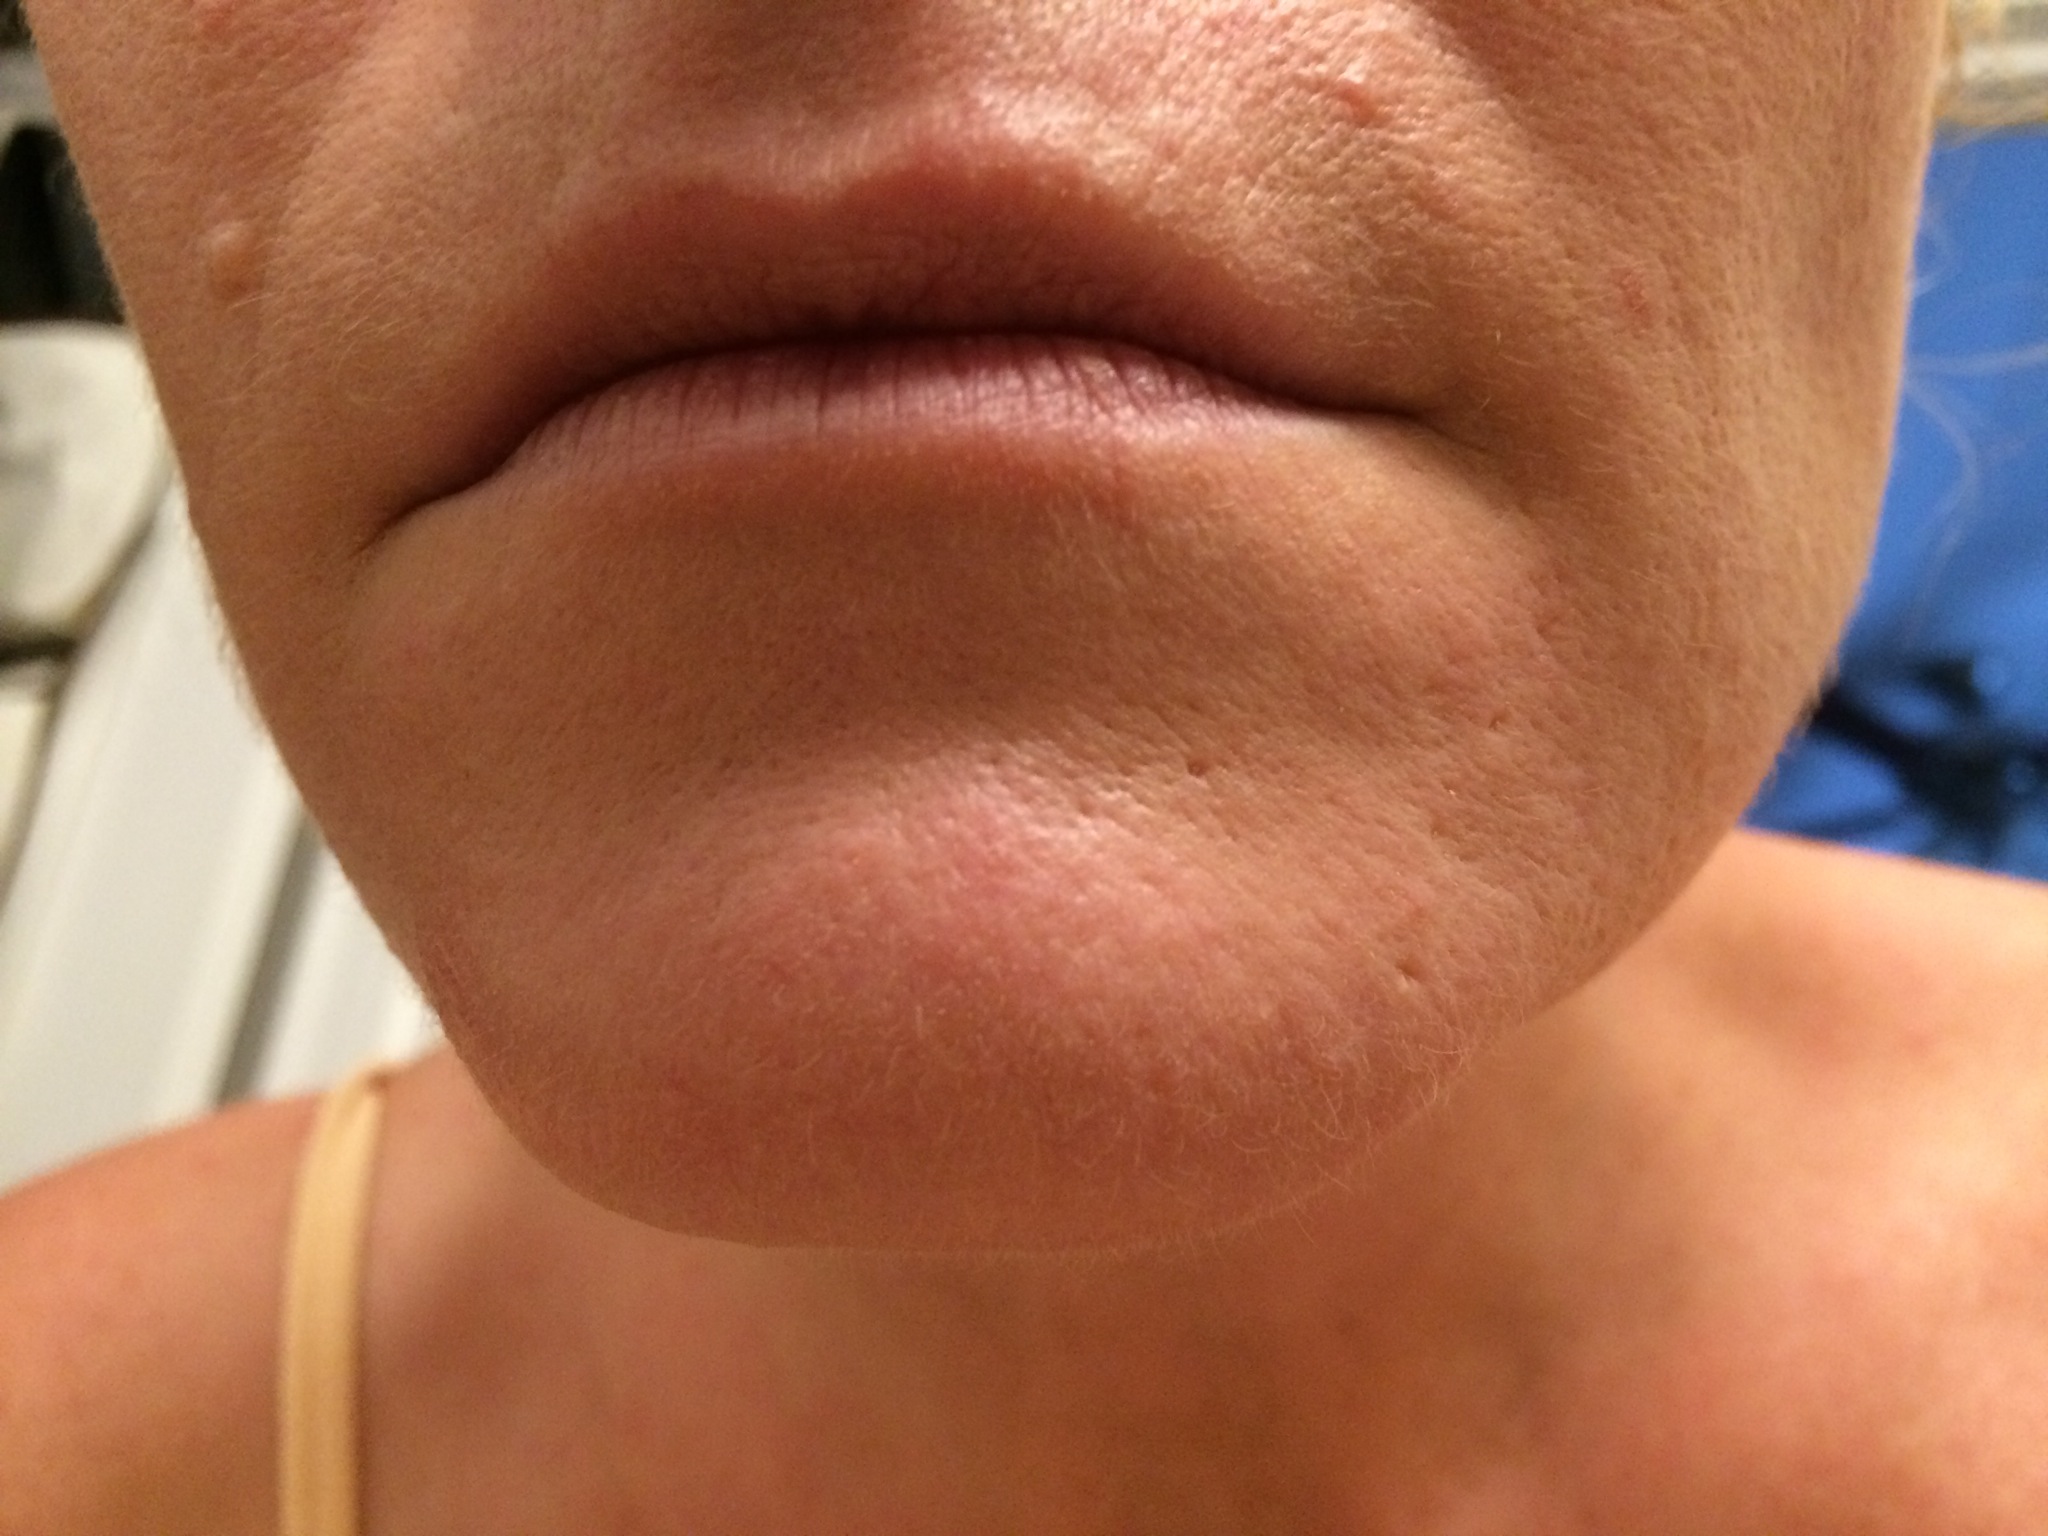
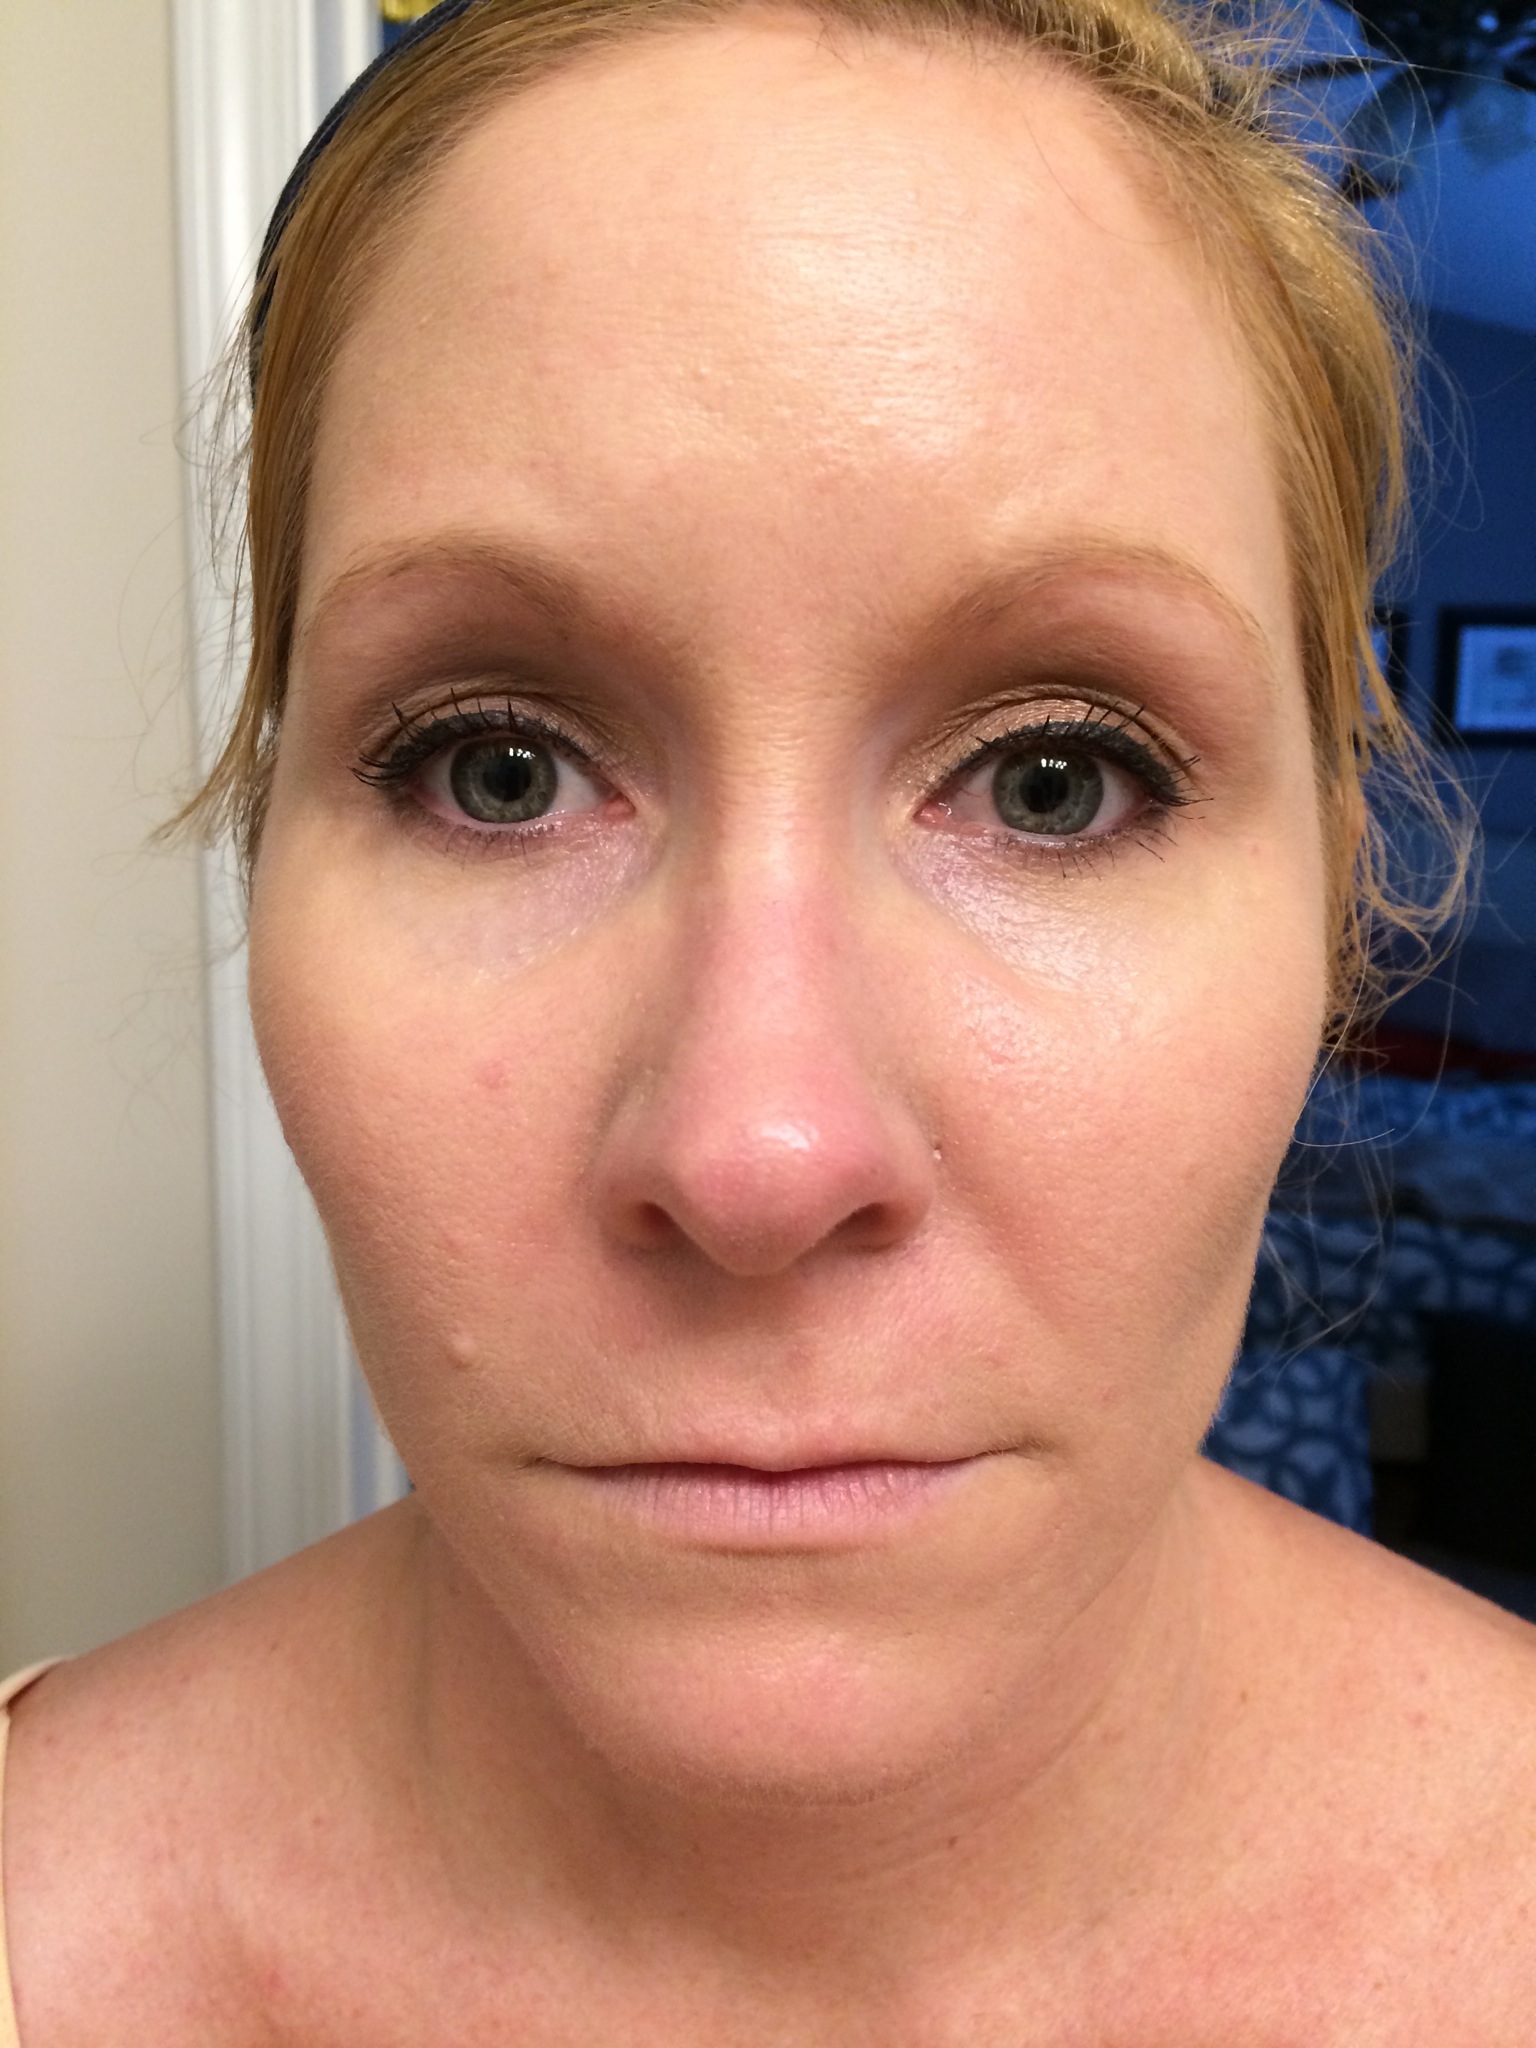
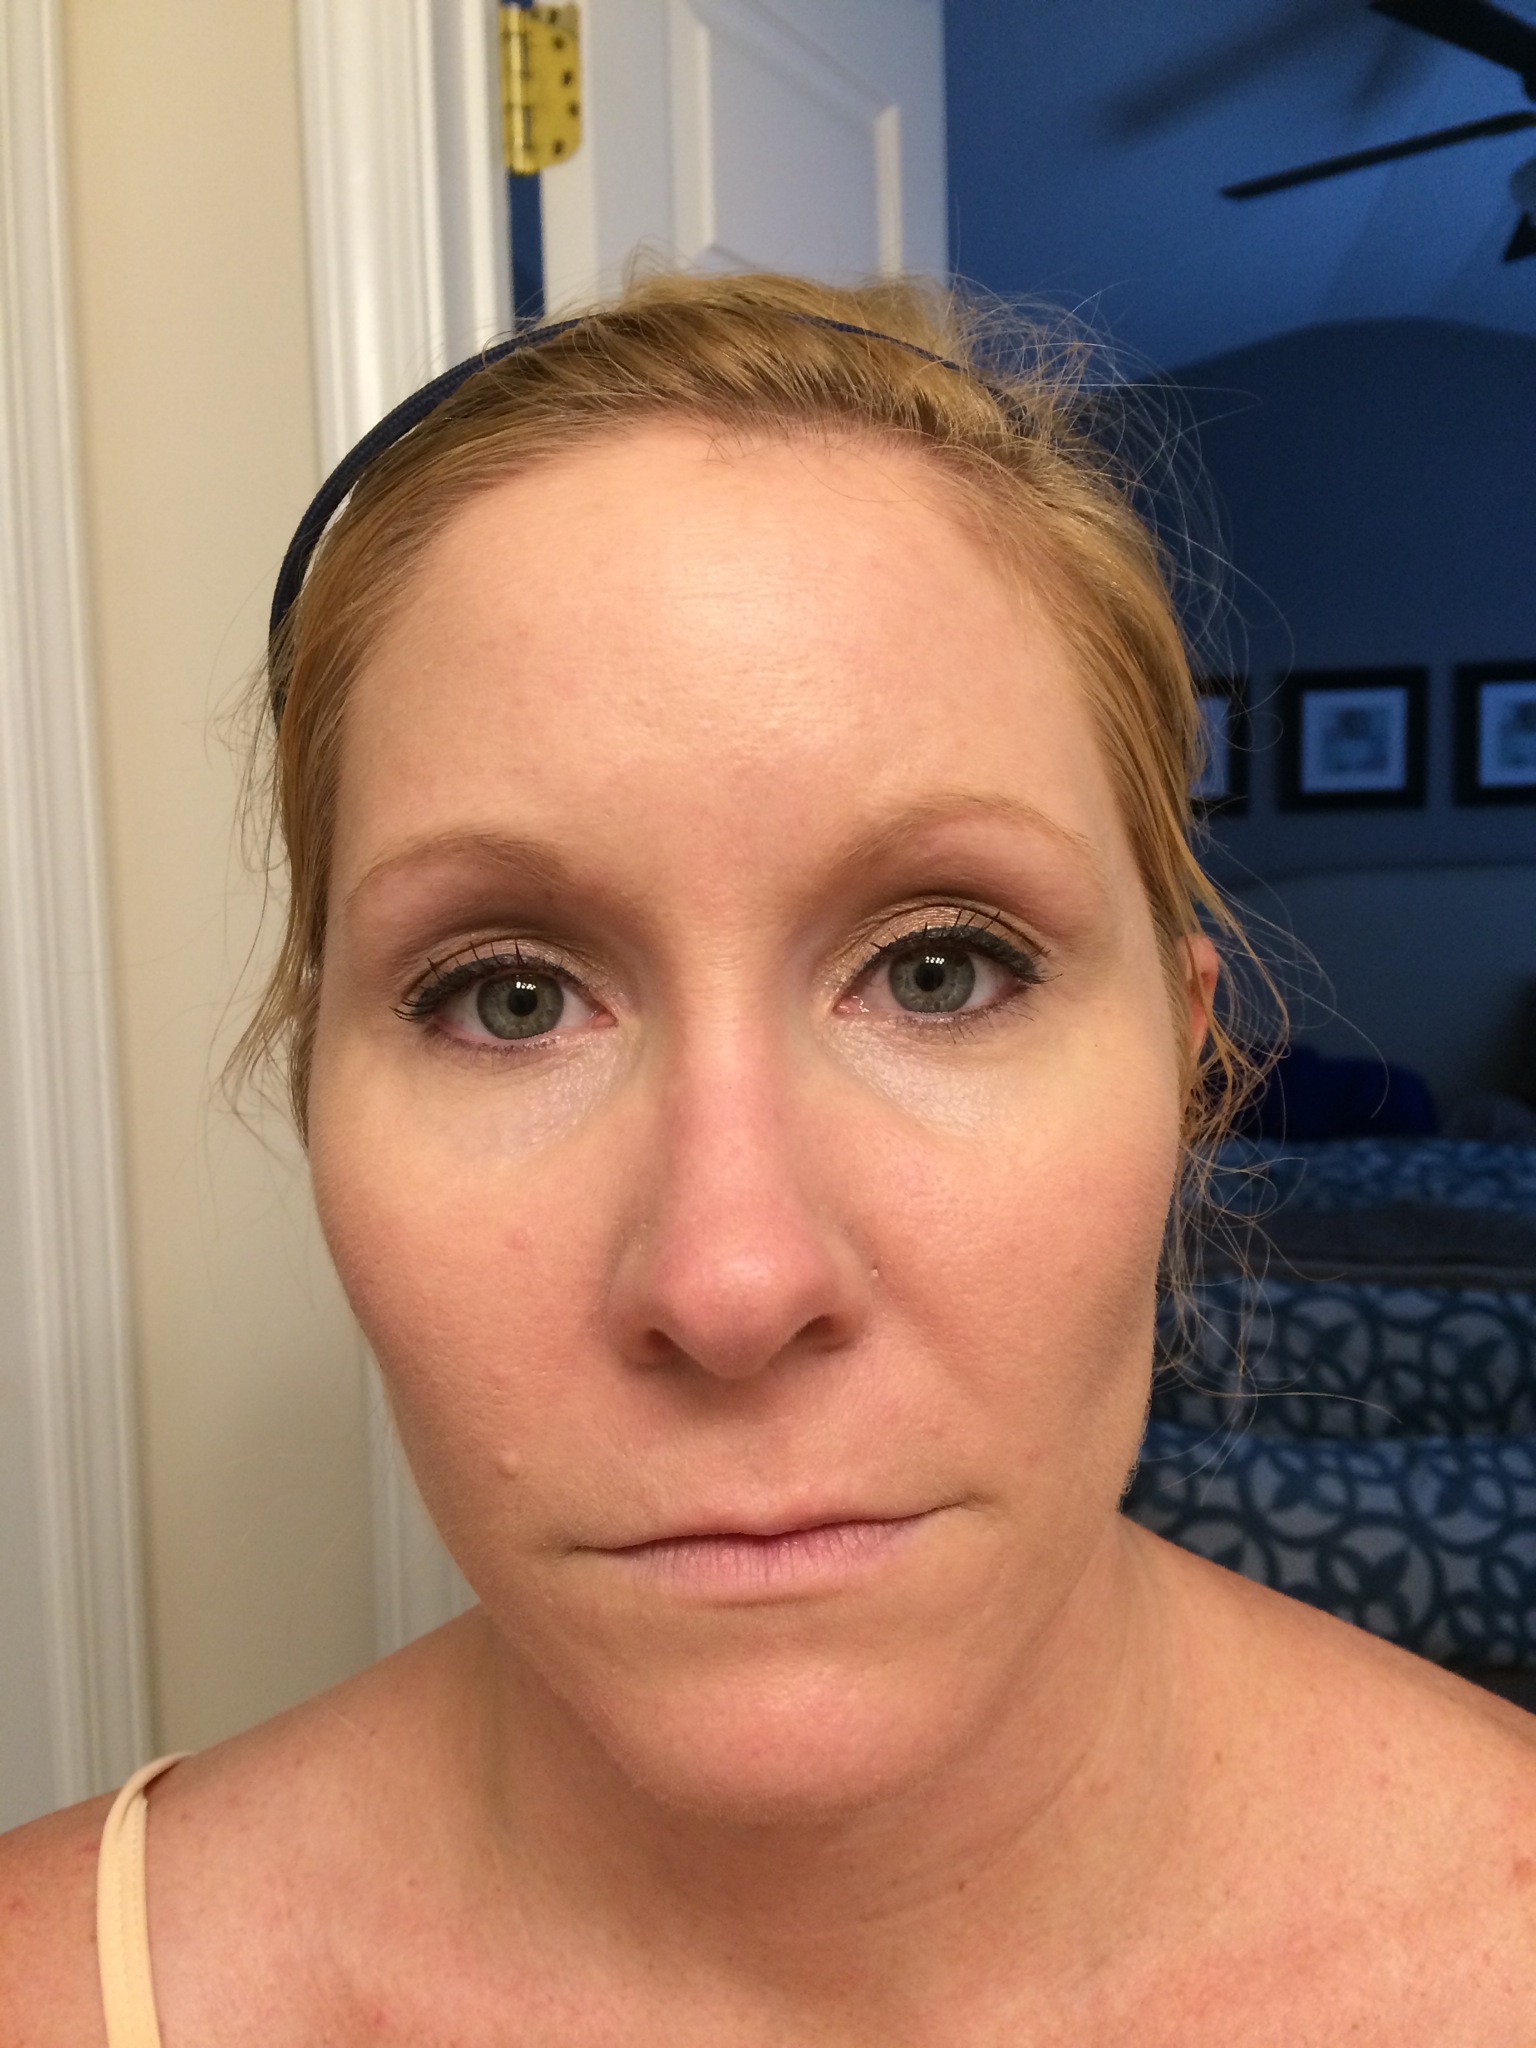
As you can see, this is kind of a process but it seems to be working pretty well for me. My skin has gotten drier as I’ve gotten older and I really like using oils. I feel like my overall complexion has evened out some since I’ve started this routine. I also feel like my blackheads getting better. I haven’t had any crazy breakouts either. I would recommend this routine for all skin types. Dry skin needs the moisture and oils actually help oily skin not over produce oil.
You can also search the blog for OCM and that will pull up a post or two regarding the Oil Cleansing Method. You could do this with Coconut Oil instead of the process I am currently using.
~k